A Feed Frame's template consists of four main parts.
The templates are written using Handlebars. The context conatains an object feed with the same structure as a Feednami response, so anything in the feed meta object or an entry can be rendered.
The default Feed Frame header template just prints the title defined in the RSS feed contents.
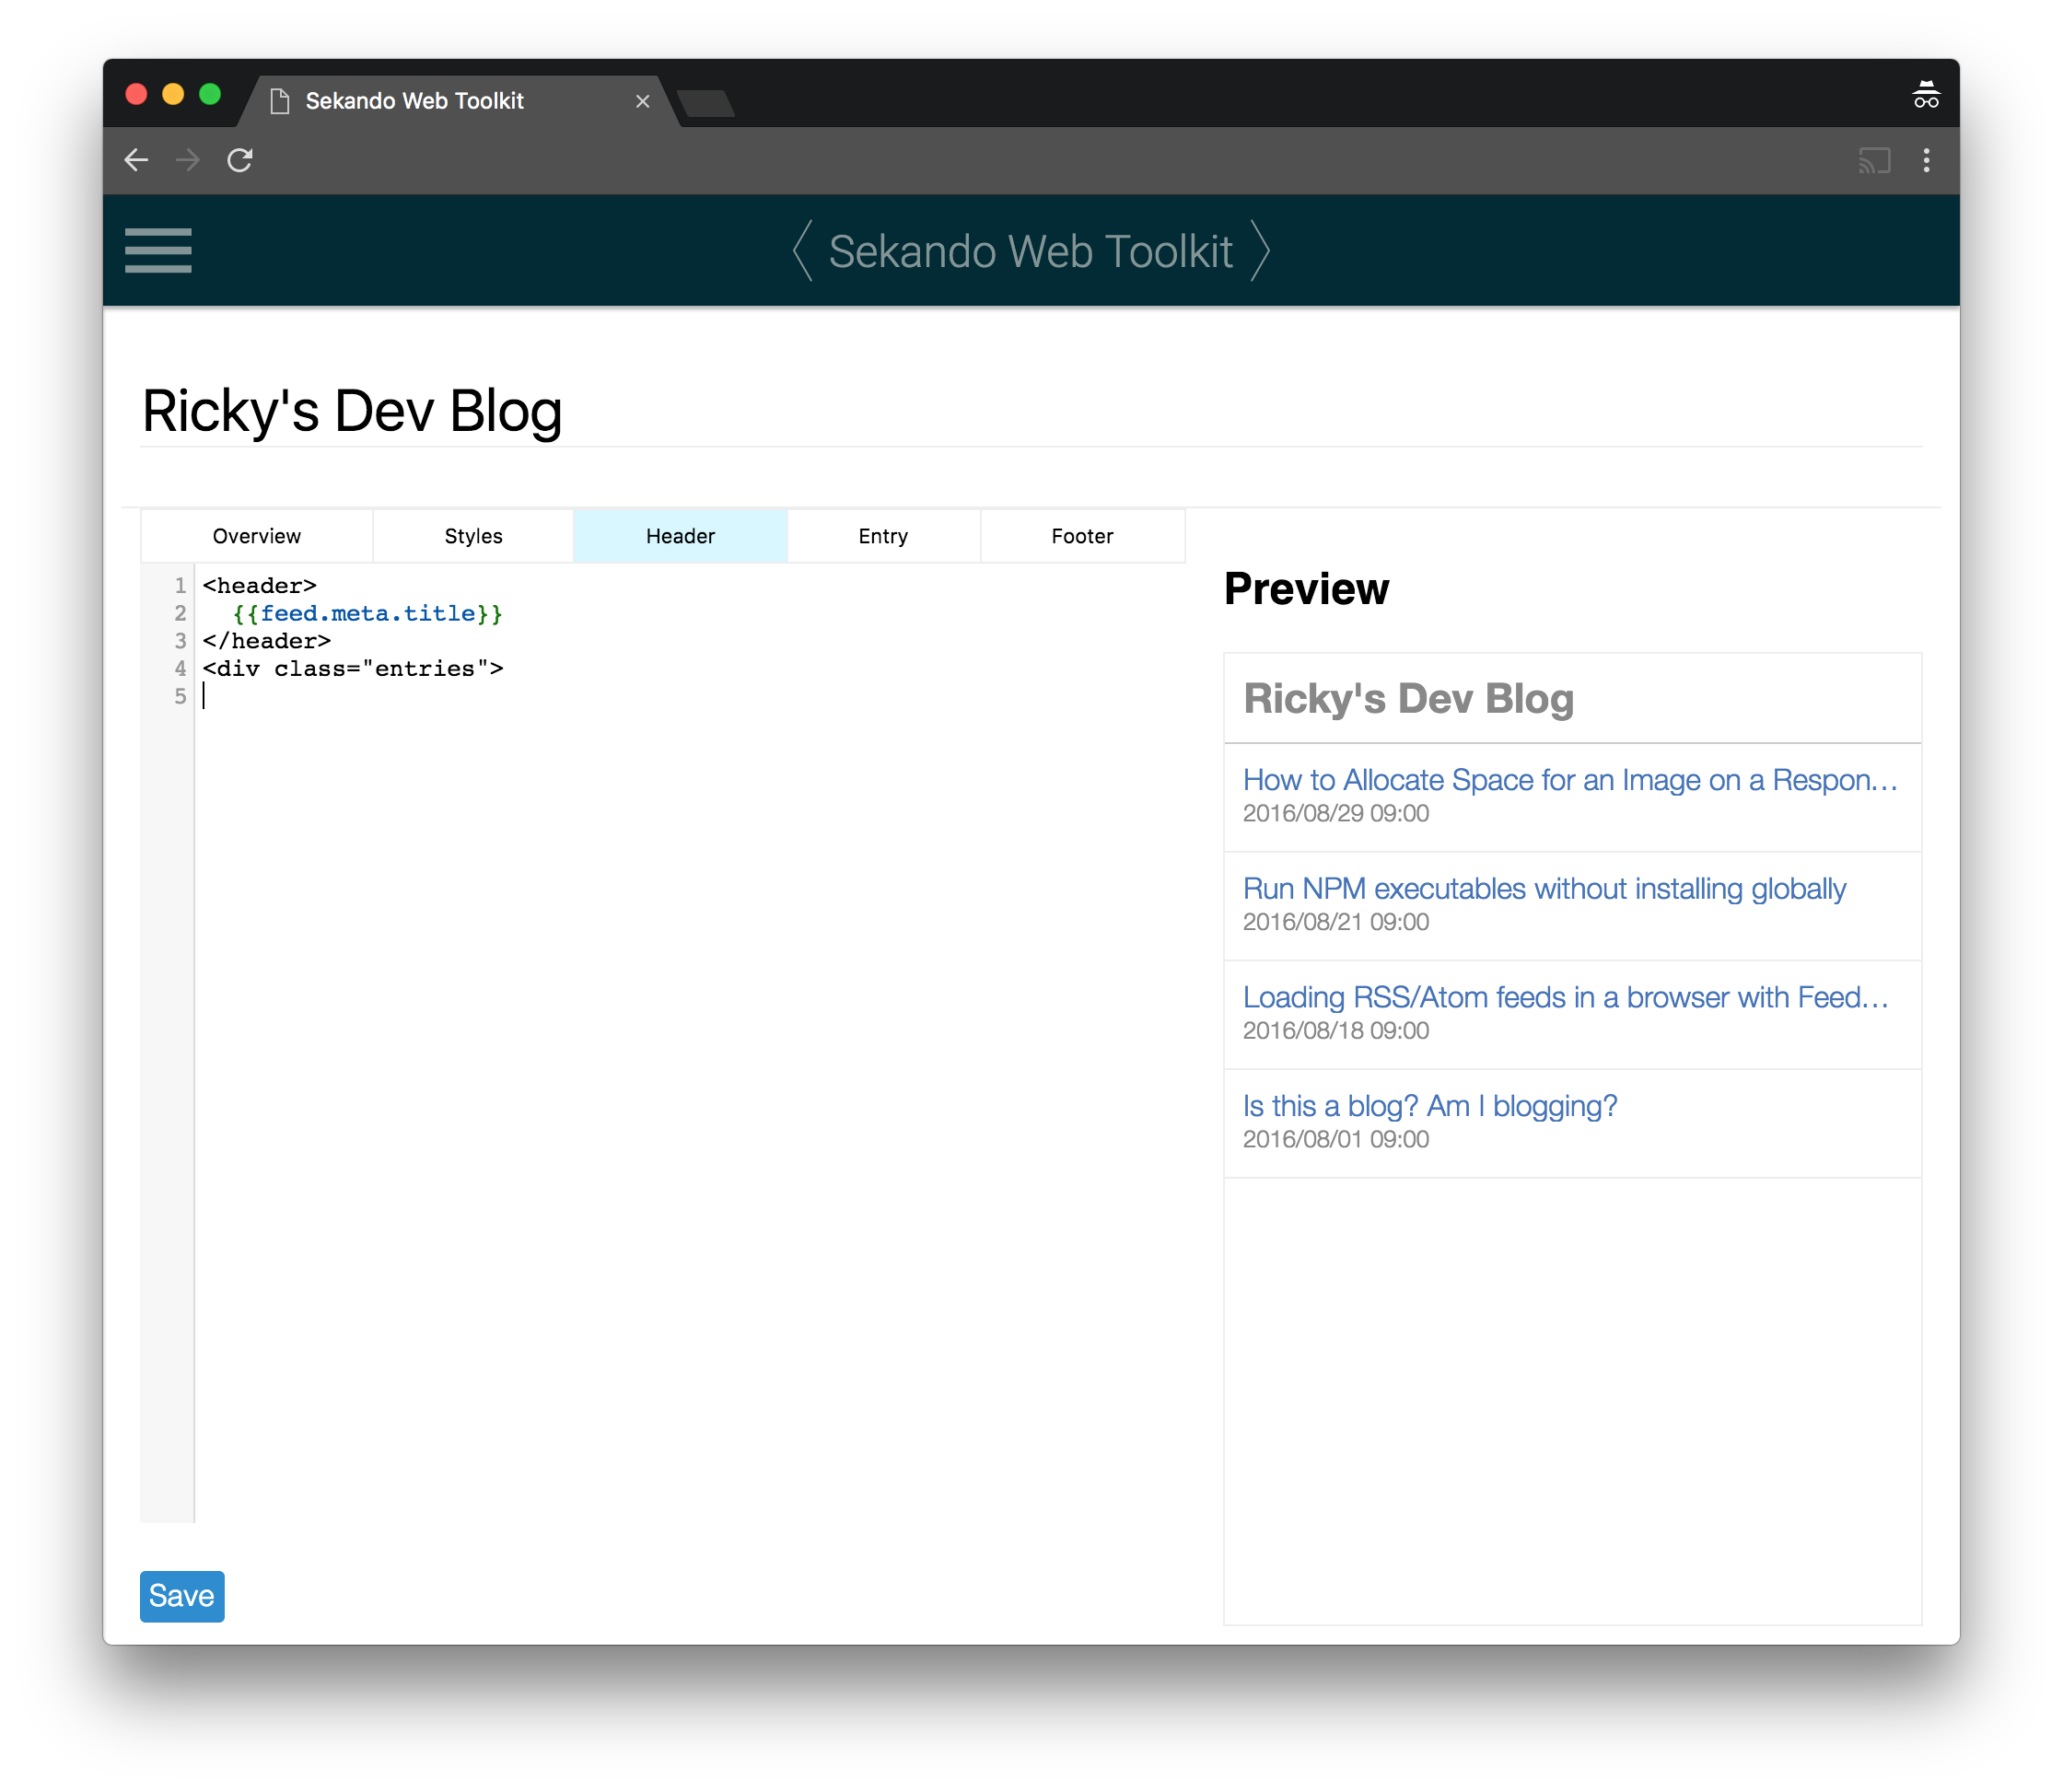
Note that there is an opening div tag that will be the container for the feed's entries.
You can change the header markup to whatever you want it to be. You can add attributes to the header tag, or remove it altogether if you only want to show the entries without a header.
The entry template is rendered once for each entry in the feed. The context of the template is the entry object. The handlebars template renderer includes a Moment.js helper so you can format the date in whatever way you need to for your site.
<div class="entry">
<div class="link"><a href="{{link}}" target="_blank">{{title}}</a></div>
  <div class="date">
    {{
      moment pubDate
      format="YYYY/MM/DD HH:mm"
      timezone="Asia/Tokyo"
    }}
  </div>
</div>
This prints the title and date of the entry inside of a link that opens the entry in a new tab.
The default template displays the Japanese date format in Japan's timezone, but you can change this. For example if your users are in France, you can change the locale to fr and the timezone to Europe/Paris:
<div class="entry">
<div class="link"><a href="{{link}}" target="_blank">{{title}}</a></div>
  <div class="date">
    {{
      moment pubDate
      lang="fr"
      format="lll"
      timezone="Europe/Paris"
    }}
  </div>
</div>
That template will now show dates that look something like "25 oct. 2016 18:32". For more documentation about timezones and date formats look at the Moment.js website.
The footer template has the same context as the header. The default contains the closing tag for the entry container opened in the header and a link to this documentation. You can change this to whatever you want.
This is where you should set all of the CSS for your Feed Frame. You can use any styles, including setting colors, font sizes, borders, and scroll behavior. While it is possible to import external fonts and stylesheets, in most cases you should avoid that and define all of your CSS in the Web Toolkit console to avoid unnecessary overhead.
You may only want to display some of the entries in a feed. By default, a Feed Frame will display all of the entries in the feed, but you can limit this to the n most recent entries. To do this, on the "Overview" section of the edit page, check the box under "Entry count" and enter the number of entries you want to display.
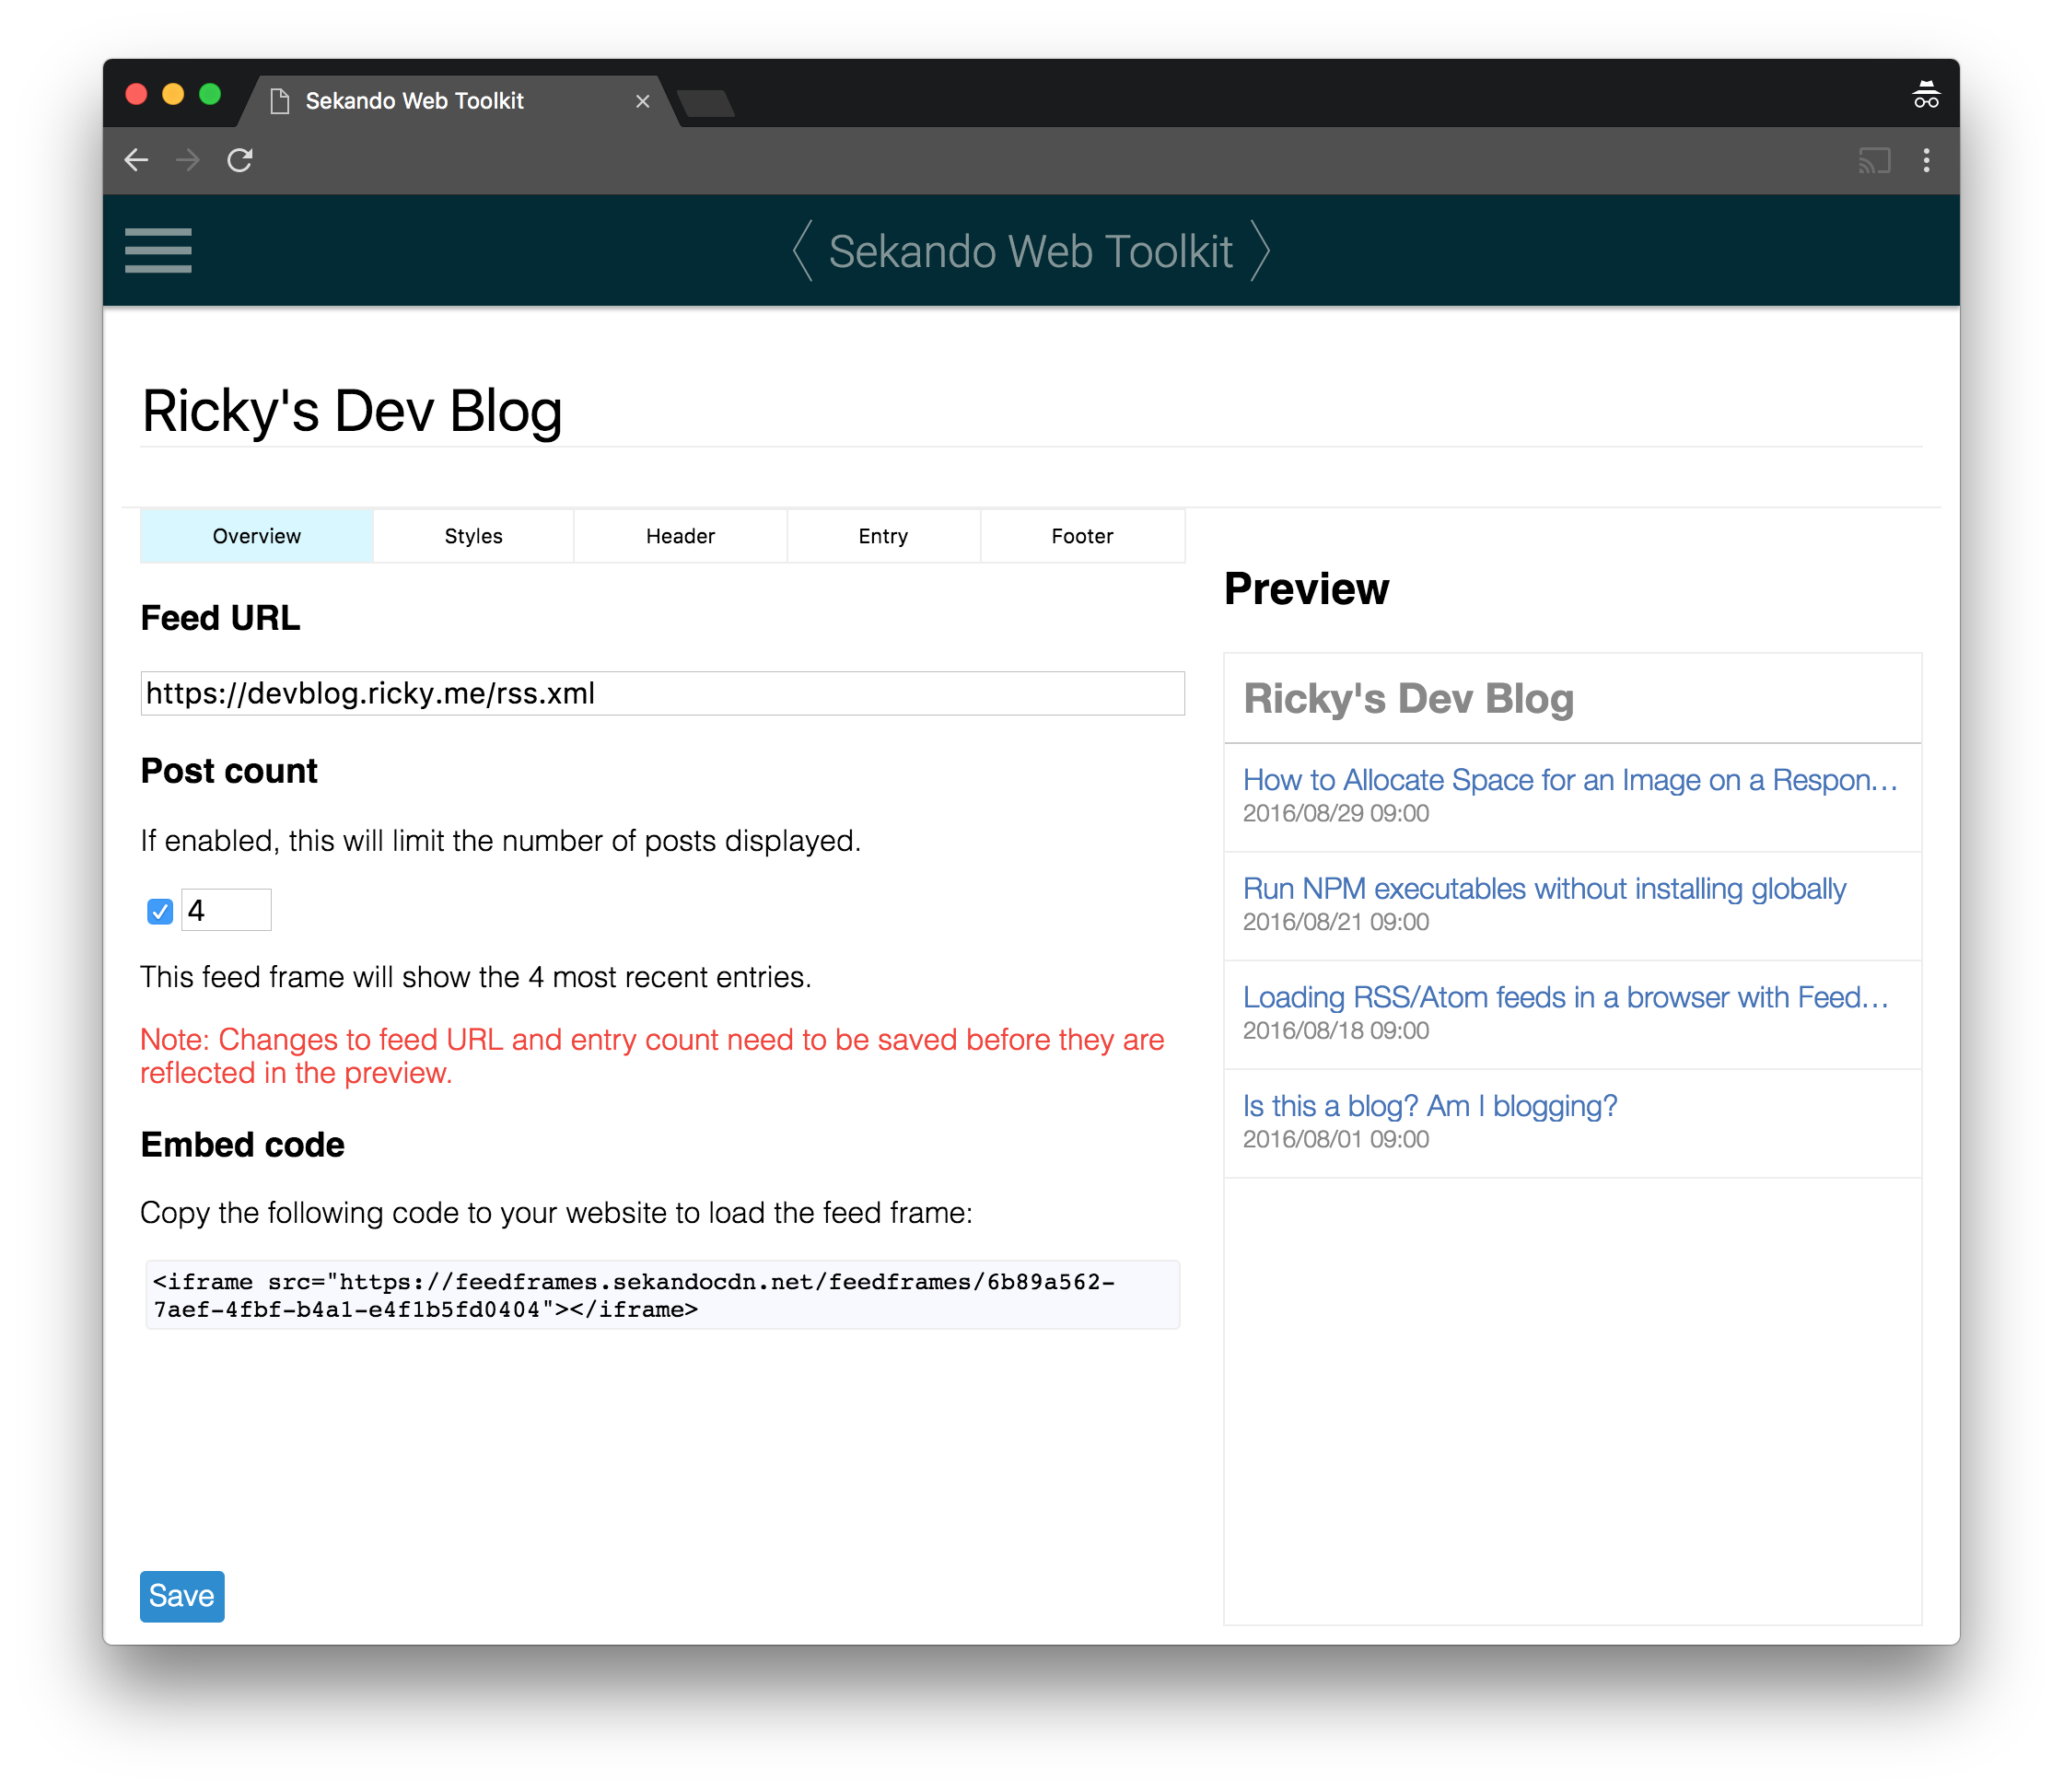
This is particularly useful if you want to display your feed without having a scrollable element on your page. If you set the entry count to the number you want to show, set overflow: hidden in your CSS, and set the other styles to match the rest of your page, the feed frame will be indistinguishable from the other contents of your page.
Once your template is set, you can continue to embedding your Feed Frame.